First contact
Open the folder where you have installed Abyss Web Server and double-click on the Abyss Web Server icon.
By design, most macOS versions allow users' applications to only use ports ranging from 1024 to 65535. Using ports 1 to 1023 is then only possible when authorized by an administrator of the system. As a result, most of the time, you will not be able to have your web server use the default web port 80 without activating ports below 1024. But this is not a major problem as you can configure the server to use any other port.
Since it is the first time you run Abyss Web Server, you are invited to activate the ports below 1024. If you are an administrator of the system, proceed with the authentication by entering your system login and password. Otherwise, any administrator of your system can activate these ports for you. All he/she needs to do is to authenticate himself/herself to the system to grant you the privilege to use these ports from now on. If you choose to skip the activation of ports below 1024 because no administrator is available, you can perform the operation later at any time.
Special ports on recent macOS versions: Starting from macOS 10.14 (Mojave), it is possible for a normal user to use any port below 1024 without any administrative privileges provided that it is listening to all available network interfaces of the computer, which is already the default configuration of "Bind to IP Address".
Note: Refer to the "Solving Ports Listening Problems" appendix for more information about problems related to ports.
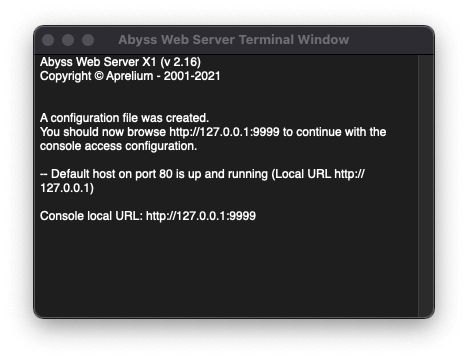
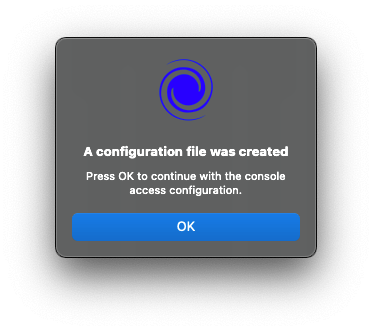
Abyss Web Server creates automatically a configuration file where it stores the web server's parameters. Then, it opens the browser and displays the console.
Note about startup problems: Refer to the "Troubleshooting Guide" appendix to solve the most common problems that can occur with Abyss Web Server startup.
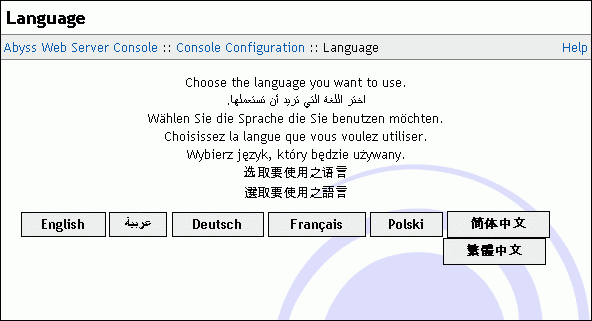
In the displayed browser window, press a button corresponding to the language you want to use in the console.
Next, choose a login and a password and enter them in the form displayed in the browser. Press OK to store them and proceed to the next step.
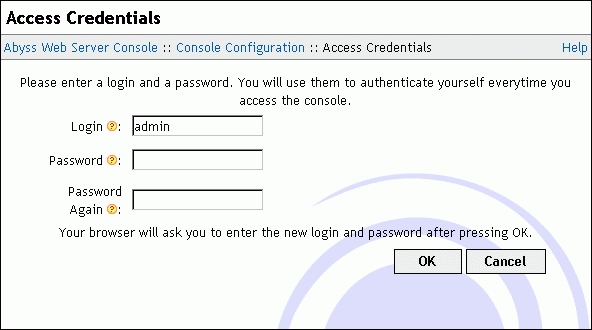
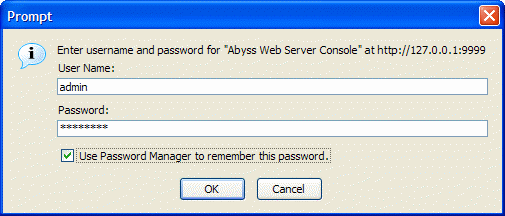
The browser asks you for your credentials. Enter the login and the password you have already chosen and validate.
Note for Abyss Web Server X2 users: If you are using Abyss Web Server X2, you may be asked at this stage to enter your license information in the console. Follow the on-screen instructions to enter the required information. For more details, please refer to the instructions that were provided to you when downloading Abyss Web Server X2 or its updates.
At this point, Abyss Web Server is ready to serve. To test it, point the browser to the web server URL, which is printed on the server's window . You should see the Welcome to Abyss Web Server page.
Note: You can launch Abyss Web Server manually or configure it to run automatically when your computer boots up . See the "Startup Configuration" appendix for more information.